


A simple DIY maintenance project that could save you thousands of dollars.
Most of us don’t give our water heaters a second thought until we turn on the shower and there’s no hot water. But did you know there’s a replaceable part inside most conventional tank-style water heaters that helps prevent the tank from rusting out?
It’s called a sacrificial anode rod, and understanding what it does could help you get several more years of service out of your water heater.
The surprising part? Replacing it can be a relatively easy DIY project.
What Does an Anode Rod Actually Do?
Your water heater has a steel tank that constantly holds water. Although the inside is protected by a special lining, corrosion can eventually attack exposed steel.
That’s where the anode rod comes in.
Usually made of magnesium or aluminum alloy, this metal rod extends down into the tank. Through a natural electrochemical process, the rod gradually corrodes instead of the steel tank.
In other words, the anode rod sacrifices itself to protect your water heater.
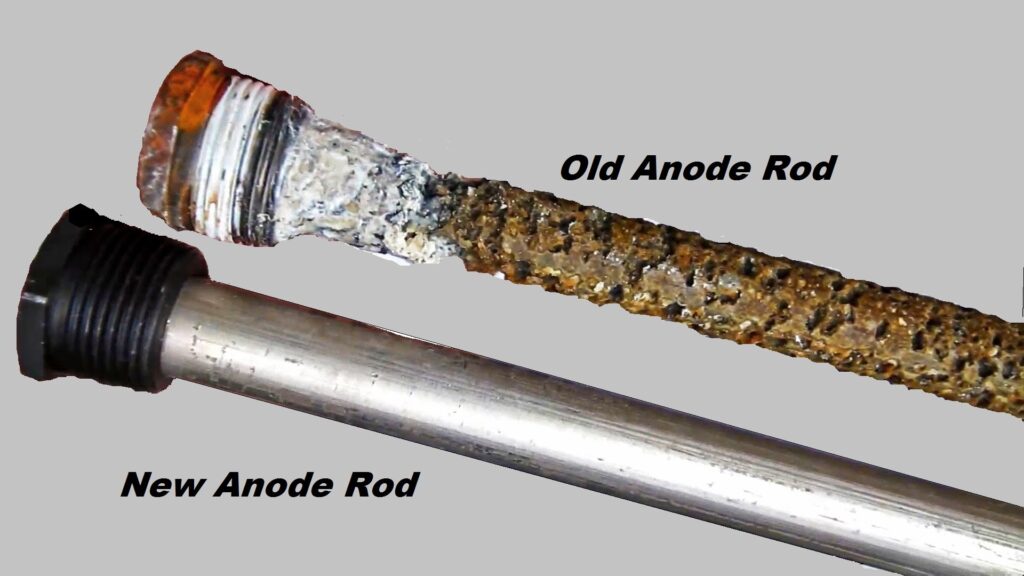
Over time, the rod gets eaten away. Once it’s depleted, the tank loses that important corrosion protection, increasing the risk of internal rust and eventually leaks.
And here’s the catch: you can replace an anode rod, but once the steel tank itself rusts through, it’s usually time for a new water heater.
We Just Replaced Ours, and It Took About 30 Minutes!
Our own Bradford White water heater was manufactured in 2017, and we recently decided to check its original anode rod.
After approximately nine years, roughly half of the rod’s protective material had been consumed. That told us the rod had been doing exactly what it was designed to do: protecting the steel tank from corrosion.
Rather than wait for it to become completely depleted, we decided to replace it with a new magnesium rod.
The entire job took about 30 minutes, and it was surprisingly easy!
We did run into one little challenge. Our original anode rod was a single, solid piece, and because of the limited ceiling clearance above the water heater, there wasn’t enough room to pull the entire rod straight out of the tank.
The solution? We securely gripped the exposed rod with a pair of Channel Lock pliers to keep it from slipping back into the tank, then carefully cut the old rod in half with a hacksaw so we could remove it in sections. The new anode rod had flexible sections so it went in easily.
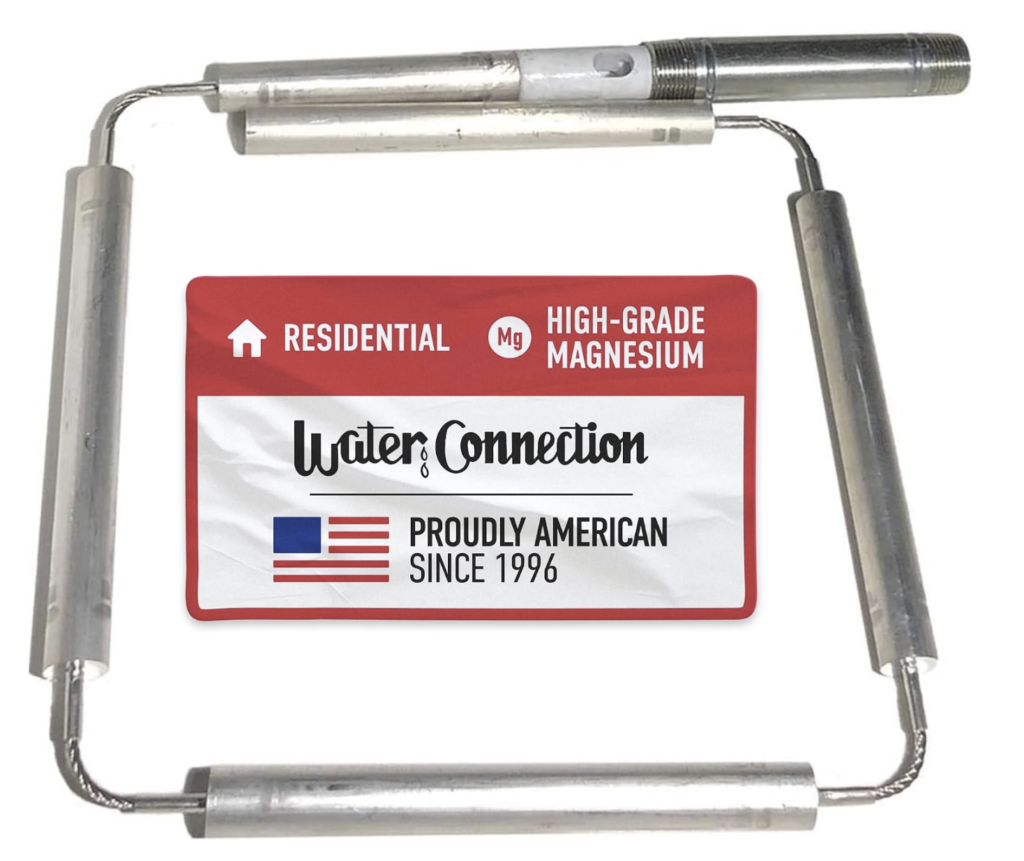
That little diversion aside, the replacement was a breeze.
It’s worth knowing that flexible, segmented replacement rods are available for some water heaters with limited overhead clearance. The correct replacement depends on your particular model.
Our experience was a good reminder that a little preventive maintenance today could help avoid a much more expensive problem down the road.
How Often Should You Replace Yours?
There’s no universal replacement schedule because every home’s water conditions are different.
Water chemistry, household hot-water usage, and water softeners can all affect how quickly an anode rod wears out.
A good starting point is to inspect the rod within the first few years and periodically afterward, following your water heater manufacturer’s recommendations.
You don’t necessarily need to replace it every time you inspect it. The idea is to replace it before the protective material becomes substantially depleted.
If your water heater is five, seven, or even ten years old and you’ve never checked the anode rod, it’s definitely worth investigating.
Want to Do It Yourself? Watch These Videos!
The good news is that many homeowners who are comfortable with basic plumbing maintenance can replace their own anode rods.
However, the process differs depending on the manufacturer.
For example, many Rheem water heaters have a dedicated anode rod fitting on top of the tank. On many Bradford White models, the anode rod is incorporated into the hot-water outlet connection.
We’ve included two helpful YouTube videos demonstrating the different replacement procedures.
RHEEM Water Heater: How to Replace the Anode Rod
[YouTube instructional video link for RHEEM]
BRADFORD WHITE Water Heater: How to Replace the Anode Rod
[YouTube instructional video link fpor Bradford White]
Be sure to check your water heater’s specific model and manufacturer’s instructions before starting. The appliance must be safely shut down, and hot water and pressure present hazards. If your old rod is difficult to remove or you’re uncomfortable working with plumbing connections, consult a licensed plumber. Our experience cutting the old rod was specific to our installation and isn’t a universal removal procedure.
A Small Investment That Could Save You Thousands
Think about it.
Replacing an entire water heater can easily cost over a thousand of dollars, including installation.
An anode rod typically costs a fraction of that.
Replacing it won’t guarantee that your water heater lasts another five or ten years. But keeping its primary corrosion protection working gives the tank a better chance of reaching its full potential lifespan.
It’s one of those simple maintenance projects that can make a real difference, yet most homeowners don’t even know it exists.
Our Advice
Check the age and brand of your water heater. If you’ve never inspected or replaced its anode rod, take a few minutes to learn about it.
Watch the appropriate video, check your owner’s manual, and determine whether this is a project you’re comfortable doing yourself.
AMAZON LINKS FOR ANODE RODS
Taking care of your home isn’t always about big improvements. Sometimes, it’s the little things that protect your biggest investment.
We hope this helps!